Lamination Brow Lift tutorial (Eyebrow shaping)
Lamination Brow Lift tutorial (Eyebrow shaping)
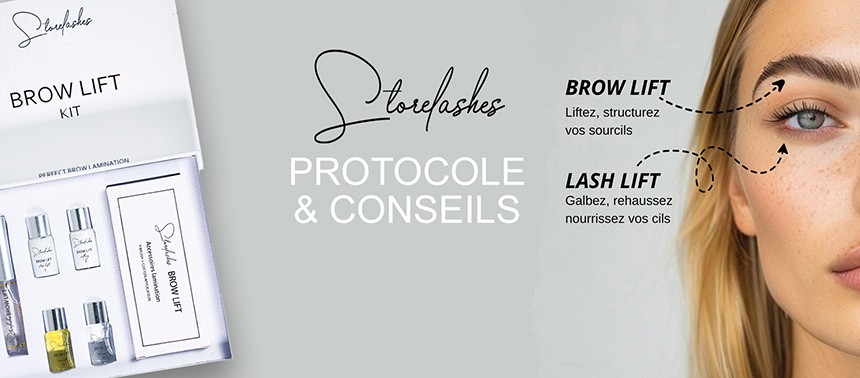
Are you ready to tackle the Brow Lift lamination tutorial? This eyebrow shaping technique delivers optimal results with ease.
The goal? Well-shaped, fuller, thicker brows.
Eyebrows frame the face; they are essential to creating beauty in harmonious contour. If your brows are thin, sparse, or poorly shaped, the lamination Brow Lift will transform your beauty!
To ensure optimal results, be sure to follow the steps of this tutorial diligently. Whether you are a professional beautician or someone who simply enjoys showing yourself a bit of TLC, the lamination Brow Lift will transform your face into a harmonious version of itself.
For ease of reading, we have laid the steps out from the perspective of self-application. Beauticians: adapt the steps to meet your client’s needs.
Foreword: the condition of your skin
Before delving into the Lamination Brow Lift tutorial, it’s important to assess the current condition of your skin to ensure optimal results. The skin underneath your eyebrows must be healthy and in good condition, which means:
● No pimples
● No cuts
● No sunburns
● No recent chemical peels
For your safety, you should not apply the Brow Lift soon after microblading or feathering, nor should it be applied soon after eyebrow tattooing. Nevertheless, our Brow Lift Storelashes can be used 2 months after any microblading procedure or eyebrow tattooing.
Lotion to use for the tutorial
Be careful! It is important to use the Brow Lift fixing lotion and not the Lash Lift fixing lotion, as eyelashes and eyebrows are not the same! Using the lotion that was not formulated specifically for eyebrows may leave you with suboptimal results.
What you’ll need is the Storelashes Brow Lift fixing lotion. It was created with skin safety in mind (unlike any Lash lift fixing lotion, the use of which is not designed for direct contact with skin). In other words, this lotion has been optimised to create phenomenal results specifically for eyebrows.
Products and tools necessary to complete the Brow Lift
- Lotion lift (liftante)
- Brow Lift Fixing lotion
- Complete care nourishing lotion or lashbotox
- StoreLashes brow/lash shampoo
- Brow lift glue (hypoallergenic and can be in direct contact with skin, and its accessories)
The goal is to shape your eyebrows to accomplish a thicker, fuller, neater look. With that in mind, the subsequent 5 steps are necessary.
Firstly, you’ll need to soften the keratin of the hair using the lift lotion: this is what allows you to manipulate and reshape the brow. Then, you need to fill in the sparse areas and blend the colour in.
A Brow Lift fixing lotion is used to fix the new curvature of the brow. Finally, the complete care nourishing lotion reinforces the eyebrow and fixes the cuticle, all the while hydrating and repairing the skin.
Steps of the Brow Lift Tutorial
1) Step 1: Preparation and cleansing
To begin, gently cleanse the skin beneath your eyebrows, preferably using micellar water or your Storelashes lash/brow shampoo. At this stage, avoid any scrubbing or exfoliation to prevent any irritation to your skin.
2) Step 2: Applying the lift lotion (liftante)
Apply the lift lotion (liftante): it opens the brow hair cuticles.
Proceed as follows: cover the whole eyebrow quickly, with circular movements to help the product penetrate all the brow hair cuticles.
The time required for the application of the lift lotion is roughly 5 to 6 minutes depending on the eyebrow. Thicker brows will need 6 minutes, whereas thinner ones will not need any more than 5 minutes.
Be careful: too long an application can irritate the skin.
We recommend starting the timer as soon as the product comes in contact with the skin. When the time is up, use a cotton bud to delicately wipe it off.
3) Step 3: Applying the Brow Lift fixing lotion
The Brow List fixing lotion fixes the eyebrows into shape and closes the brow hair cuticles.
Use the fixing lotion as soon as you’ve wiped off the previous lotion (without rinsing).
Apply the lotion with a lip brush by neatly scrubbing the brow hairs, ensuring that you’ve covered the entire eyebrow. Roughly 5 to 7 minutes are required for this step, regardless of the eyebrow type. Wipe the lotion off with a cotton bud.
4) Step 4: Eyebrow tinting (optional)
If you need to tint your eyebrow, this is the stage at which you can do so: right after you’ve applied the fixing lotion.
For this, apply the Storelashes henna brow tint using a flat brush. You won’t need to leave it on as long as usual because the hair cuticles have already been opened by the fixing lotion, so the tint will take effect more quickly.
To finish, wipe off the excess tint using a wet cotton bud.
5) Applying the nourishing lotion
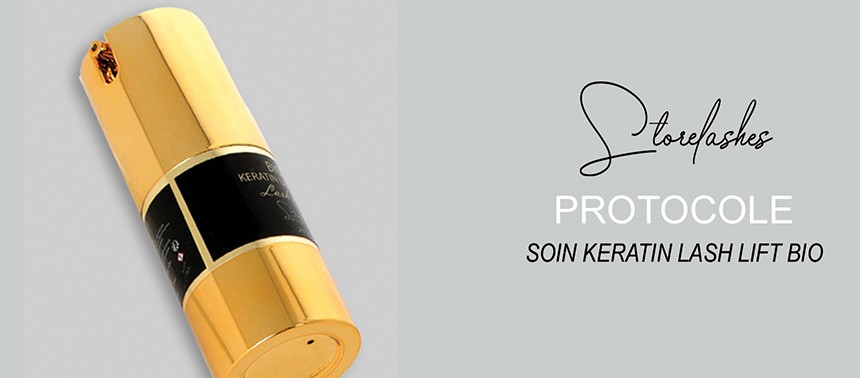
Finally, it’s time to apply the Storelashes nourishing lotion.
This product nourishes and repairs damaged brow hairs and skin. But that’s not all… it also adds shine and intense volume to your eyebrows, all the while fixing them in their new shape.
Let it sit for 6 minutes and then remove the excess with a dry cotton bud. Lastly, apply wax and pluck if necessary. You may consider finishing off by applying a final layer of the cleansing lotion if need be.

.jpg)

.jpg)
.jpg)
